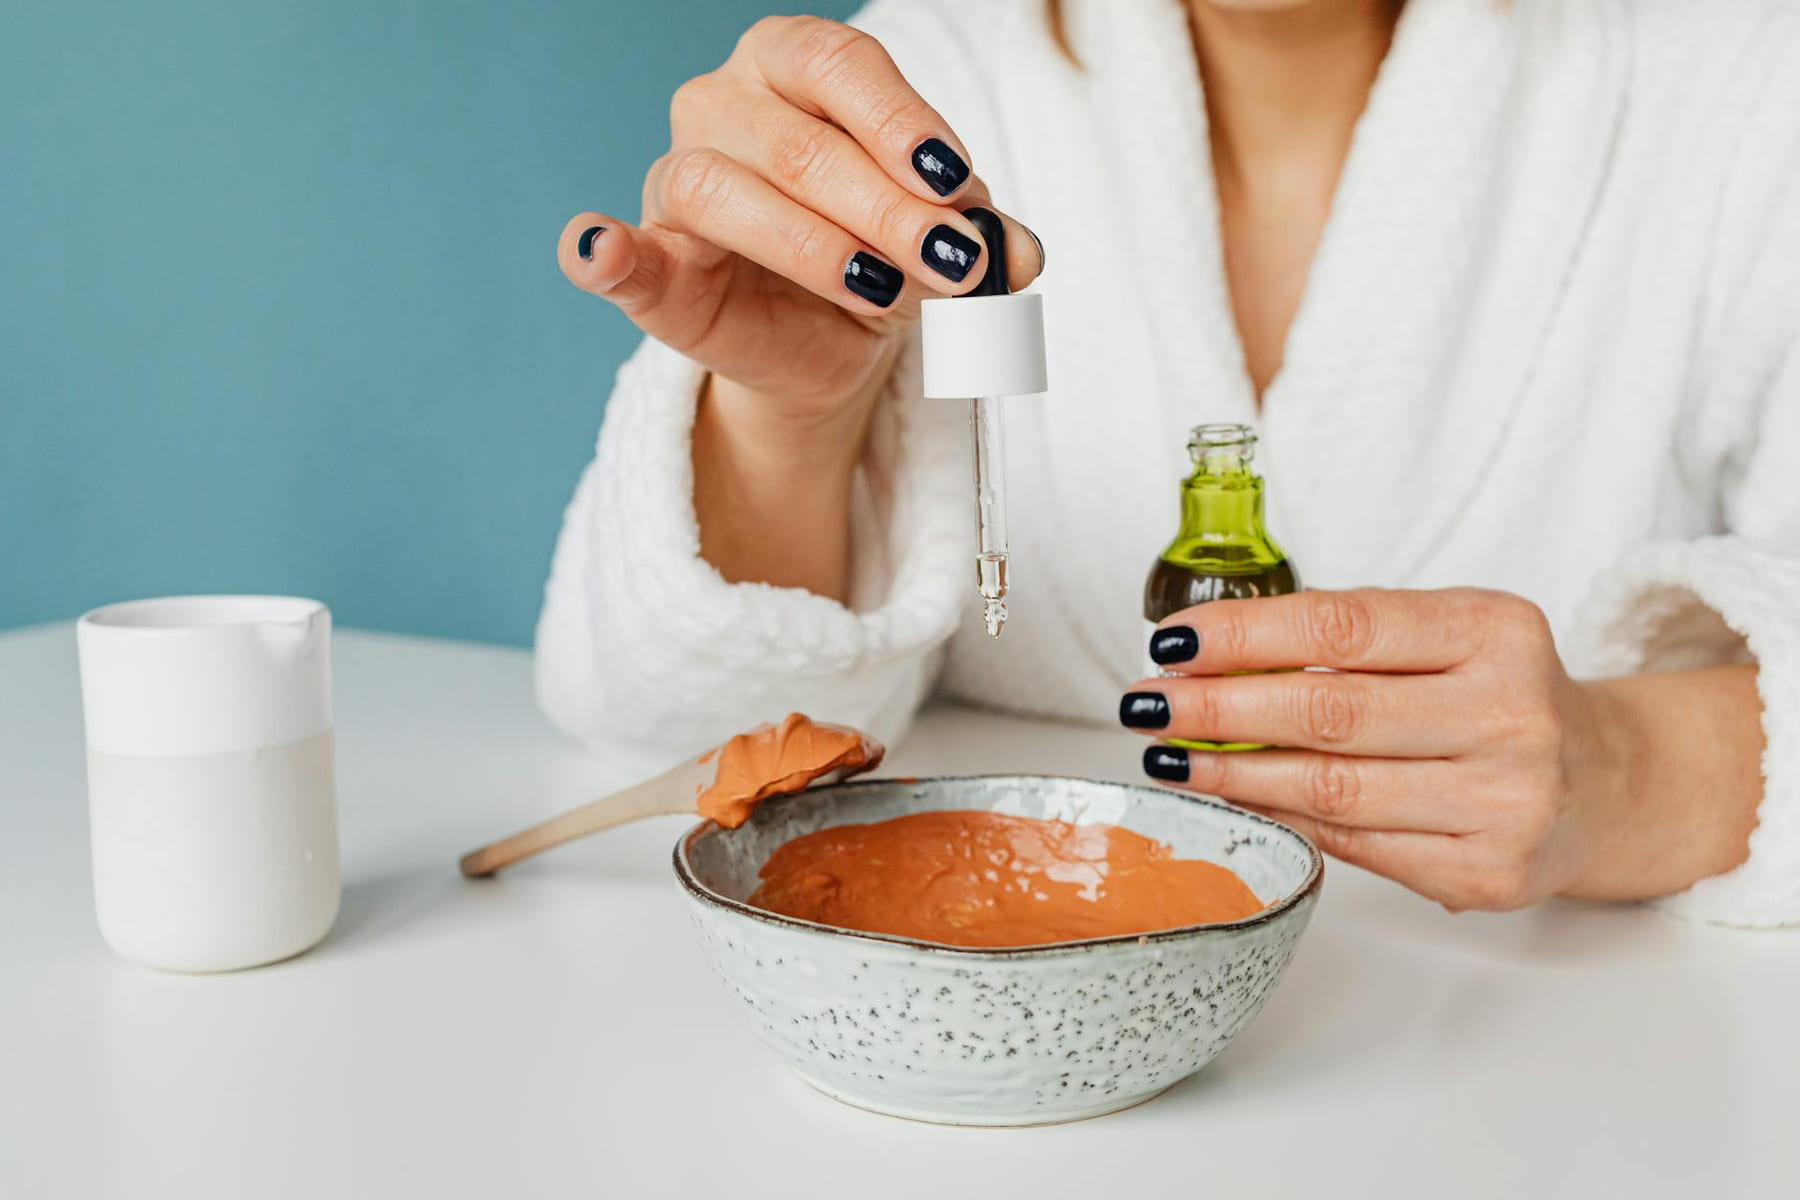
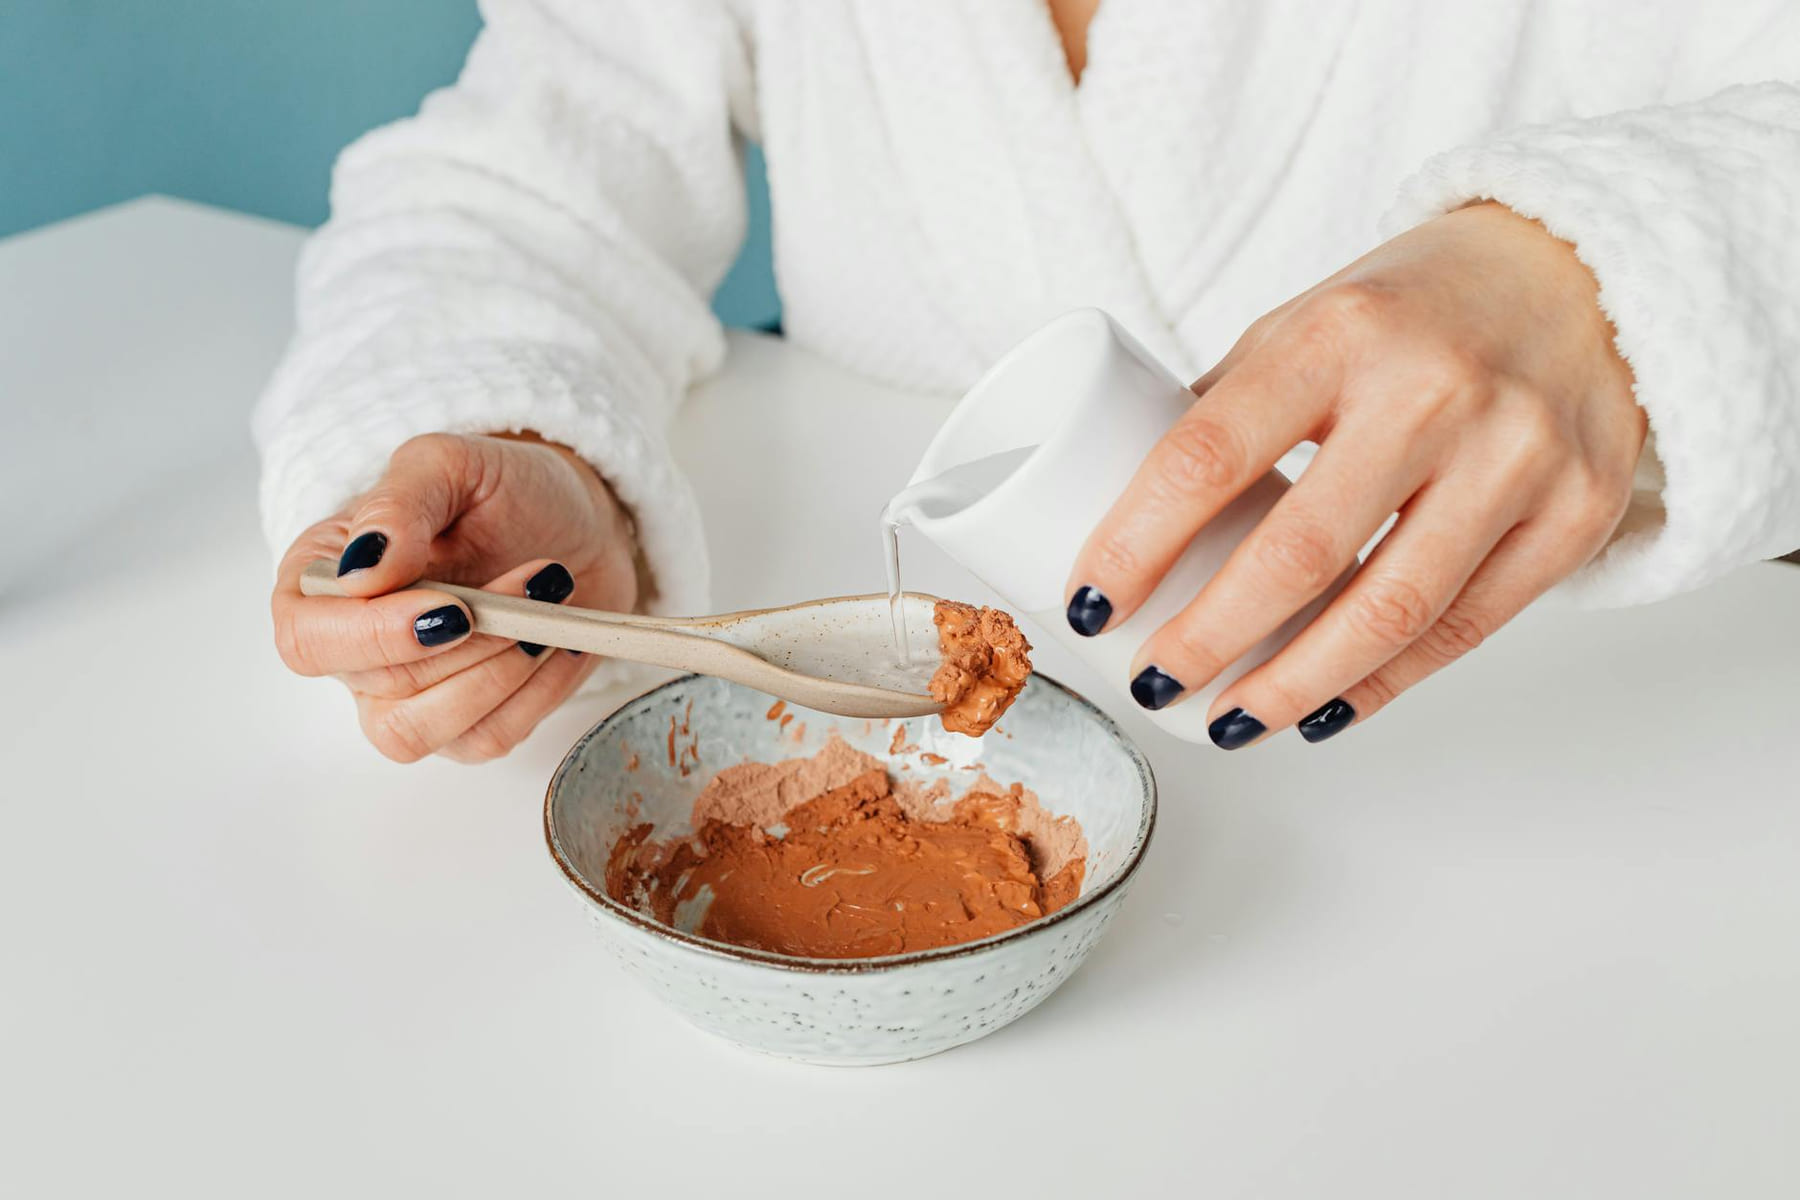
DIY Beauty can be easier to approach when you start with a few practical basics.
- Variations: Add a teaspoon of finely ground oats for extra soothing. A mashed avocado adds healthy fats and a lovely, moisturizing feel.
- Potential Sensitivities: Honey can cause allergic reactions in some people. Always do a patch test (more on that later!).
DIY Toner: Apple Cider Vinegar & Rosewater - Balance is Key (DIY Beauty)
- Basic Recipe: 1 part ACV + 3-5 parts rosewater (start with 4 parts rosewater!).
- Patch Testing: Seriously, don’t skip this. Apply a tiny amount to a small area of skin (like your inner arm) and wait 24-48 hours to check for irritation.
Natural Lip Balm: Beeswax, Shea Butter & Coconut Oil - Shelf Life Matters
- Basic Recipe: 1 tablespoon beeswax, 2 tablespoons shea butter, 2 tablespoons coconut oil. Melt everything together in a double boiler (or a heat-safe bowl set over a simmering pot of water), then pour into small containers.
- Shelf Life: Homemade lip balms don’t have the preservatives of commercial ones, so they won't last forever. Expect around 6-12 months if stored properly in a cool, dark place. Adding a few drops of vitamin E oil can help extend the shelf life.
Hair Rinse: Rosemary & Tea Tree Oil - A Gentle Boost
- Basic Recipe: 1 cup water + 3-5 drops rosemary essential oil + 2-3 drops tea tree essential oil.
- Scalp Irritation: Start with just one drop of each oil and increase gradually if you don't experience any irritation after 24 hours.
Quick Exfoliant: Sugar & Oil Blend - Simple and Effective
- Basic Recipe: 1 tablespoon granulated sugar + 1 tablespoon olive oil or jojoba oil.
- Cautions: Don’t scrub too hard - a light, circular motion is all you need. Avoid using this on sensitive or irritated skin. ---
Common Mistakes to Avoid - Part 1: Ingredient Safety
This is where things can get tricky. The internet is full of recipes, but not all of them are created equal. The biggest mistake people make is using ingredients they haven’t thoroughly researched. It’s not enough to just like the smell of an essential oil; you need to understand its properties and potential interactions with your skin. The EWG Skin Deep database () is an invaluable resource. It rates ingredients based on their potential toxicity, providing a helpful overview of what to look for and what to avoid. Don’t just take their ratings as gospel - read the detailed information about why an ingredient is rated the way it is. Sourcing your ingredients is also important. I recommend reputable suppliers like Mountain Rose Herbs () and Bulk Apothecary (). They prioritize organic and sustainably sourced ingredients. (Affiliate links may be added here in the future, but for now, I’m focusing on providing information.)
Common Mistakes to Avoid - Part 2: Formulation & Application
Okay, so you’ve chosen your ingredients and you’ve done your research. Now what? Here’s where many DIY projects fall apart. * Incorrect Dilution: This is critical. Essential oils are incredibly potent. Adding too much can cause irritation, burns, or even photosensitivity (making your skin more sensitive to the sun). A general guideline is a 1-3% dilution for facial oils, but always start low and increase gradually. A 1% dilution is roughly 6 drops of essential oil per ounce of carrier oil.
- Ignoring Patch Testing: Seriously, don’t skip this. I cannot stress this enough. Apply a tiny amount of the finished product to a small area of skin (like your inner arm) and wait 24-48 hours to check for irritation, redness, or itching. If you experience any adverse reaction, stop using the product immediately.
- Poor Storage: Light, heat, and air can degrade your formulations, reducing their effectiveness and shortening their shelf life. Store your DIY beauty products in dark glass jars and in a cool, dark place - the refrigerator is a great option for many formulations.
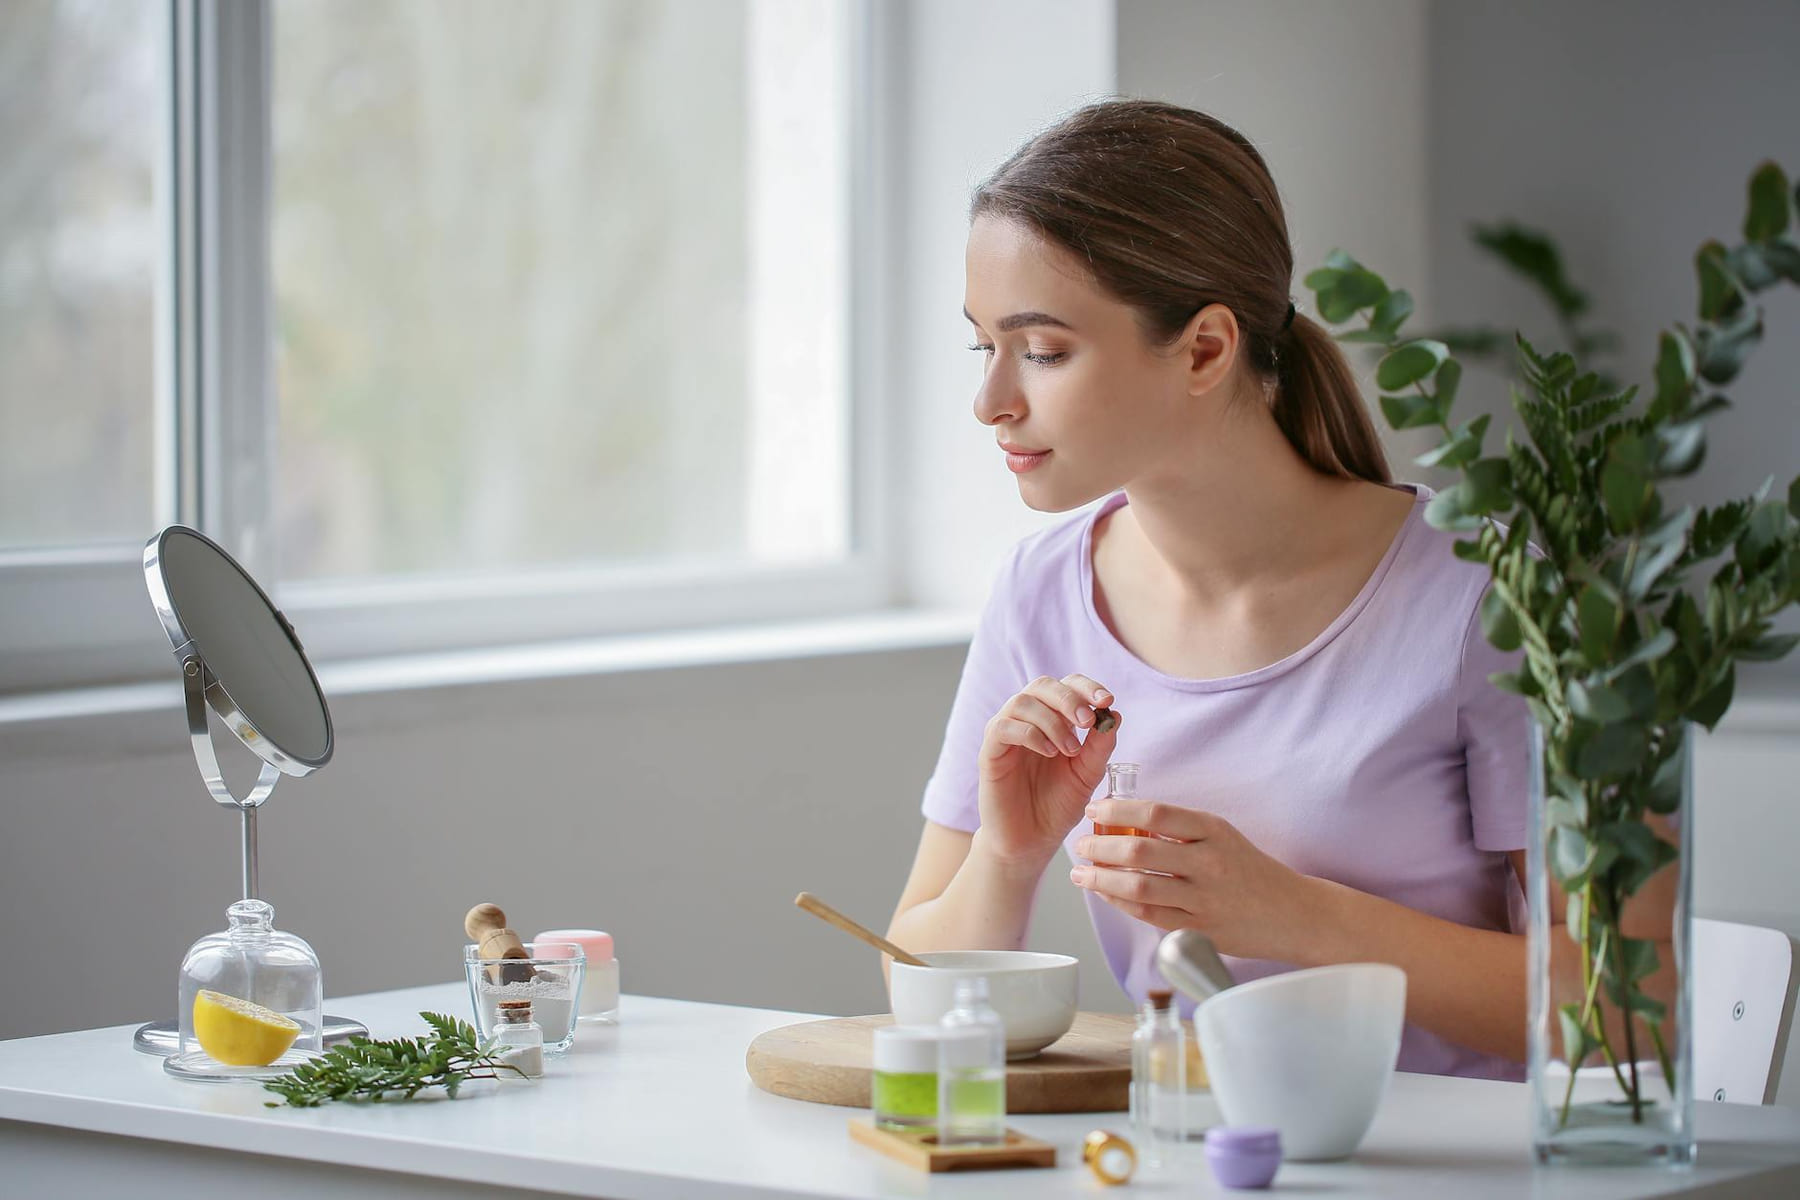
Tailoring to Your Skin
“Natural” doesn’t automatically mean “safe” for everyone. Your skin is unique, and what works for your friend might not work for you. It’s important to understand your skin type - is it oily, dry, sensitive, or a combination? For example, if you have dry skin, you might want to add a few drops of aloe vera gel to your face mask for extra hydration. If you have oily skin, you might consider using less honey or adding a bit of lemon juice (with caution!).
Resources & Further Reading
Here are a few resources to help you on your DIY journey: * EWG Skin Deep:
- The Herbal Academy:
- Reddit’s r/DIYSkincare: (A great community for sharing recipes and troubleshooting - search for it on Reddit) ---
Conclusion
Creating your own natural beauty products is a rewarding experience. It gives you a sense of empowerment, control over what you’re putting on your body, and a deeper connection to the ingredients you’re using. But remember, it’s a process that requires careful research, patience, and a healthy dose of caution. Start small, experiment safely, and don’t be afraid to tweak recipes to suit your individual needs. And hey, sharing your successes - and your missteps - with the community is a great way to learn and grow. Let's build a more conscious and beautiful world, one DIY recipe at a time.
Keep This Practical
A polished routine does not need ten new steps. Focus on the one upgrade that improves results, comfort, or ingredient confidence without making maintenance harder.
Tools Worth A Look
The products here make the most sense when they help you keep the routine effective, gentle, and realistic.
- USDA Organic Lip Balm - USA Made with Natural Ingredients, 4 Pack Unflavored ChapstickGood Molecules Clarify and Cleanse Bar - Soap Free Bar with Salicylic Acid, BHA for Skin Tone BalancingRael Miracle Clear Facial Cleanser – Makeup Remover, Daily Face Wash, Gentle Deep Pore Cleansing Korean Skin CareGlow Recipe PHA + BHA Face Toner, Korean Exfoliating Toner for Pores, Gentle Chemical Exfoliant + Hydrating Toner, Watermelon, Cactus WaterFULLY Green Tomato Facial Cleanser, Cardi B’s Clay Mask Cleanser for Deep Pore Cleanse & Pore Detox
Some of the links on this page are Amazon affiliate links, which means I may earn a small commission if you make a purchase through them. As an Amazon Associate, I earn from qualifying purchases.
Related ReadingMore from Purely Polished
Simple DIY Beauty: Recipes for You
is easier to make sense of when you break it down into the part that matters most first. Instead of chasing every option at once, it usually helps to focus on what.
DIY Beauty Recipes: Your Questions Answered
is easier to make sense of when you break it down into the part that matters most first. Instead of chasing every option at once, it usually helps to focus on what.
DIY Beauty Fails & Fixes
DIY Beauty Fails can be easier to approach when you start with a few practical basics.